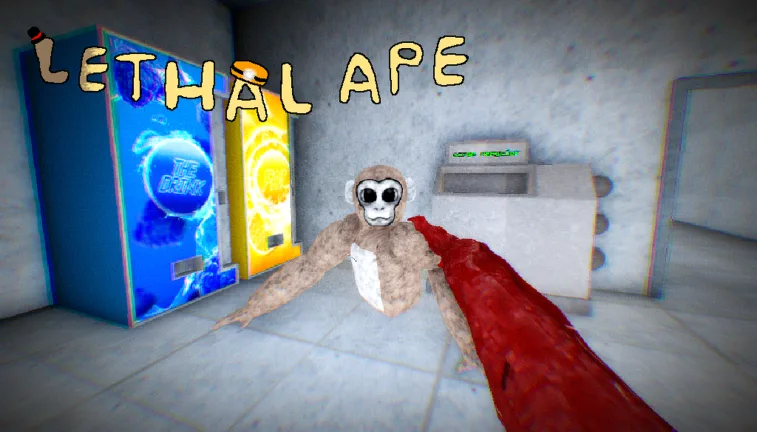
Lethal Ape Floor 1 Guide: Locations, Monsters, and Survival Tips
Master Lethal Ape's Floor 1 with our comprehensive guide covering key locations, hostile creature behavior, and essential survival strategies for Roblox players.
Published: Lethal Ape Wiki Editorial Team
Table of Contents
Navigating Floor 1 in Lethal Ape
Floor 1 is the primary environment in the Lethal Ape experience on Roblox. As the starting point for your exploration, it sets the stage for the rest of the game. Unlike the more specialized upper floors, Floor 1 is a sprawling layout composed of several interconnected zones, each with unique risks and environmental hazards. Understanding the geography of this level is crucial for both gathering resources and evading the various entities that roam the halls.
The layout begins at the Lobby, the only truly safe area where you can customize your character and check game information. Once you cross the gate, you enter the main facility. From here, you can access the Cafeteria, the Freezer, the Forest, and eventually the entrance to the Backrooms. Because this area is so large, players often find themselves disoriented. Success on Floor 1 depends on your ability to memorize the pathways between these zones and identify which areas are "high traffic" for monsters.
Key Locations and Features
Floor 1 is divided into several distinct segments, each serving a different purpose in your gameplay loop. Knowing where to go can mean the difference between a successful run and an early exit.
The Lobby
The safe starting zone. Use this area to access the locker room for customization, view the update board, and interact with the gamepass shop. No monsters can enter this space.
Gooba’s Shop
Located near the start of the facility, this is where you can find Gooba. It acts as a point of interest, often featuring an OST speaker and specific lore-related items like acid canisters.
The Cafeteria
A critical resource area. While it provides tables that can be used for protection, be warned: certain monsters like Kus are known to bypass these obstacles, making it a "safe-but-risky" spot.
The Freezer
One of the most eerie and valuable locations on Floor 1. It contains the highest density of meat valuables. However, it is the primary hunting ground for the Lurker.
Monster Threats on Floor 1
The hostile entities found on Floor 1 vary in their behavior, requiring different tactics for evasion. According to community reports, the level is not as safe as it initially appears, especially once you stray from the lobby.
Lurker: Found primarily in the Freezer. This entity uses a miner's hat to illuminate the dark, making him easy to spot but dangerous if you aren't paying attention to his patrol path.
Lost: A fast-moving creature often encountered near the Forest area. Players have noted that he can easily catch up to those who are not actively hiding or breaking his line of sight.
Sandman & Ashy: These brothers are frequently encountered across the main areas of Floor 1. They are relentless and require constant vigilance.
Kus & Dus: These creatures are particularly dangerous in the Backrooms segment of Floor 1. Kus is noted for its ability to jump, while Dus is near-sighted, allowing you to potentially slip past if you remain quiet.
Survival Strategies and Tips
Surviving Floor 1 is as much about resource management as it is about stealth. Because this level is the most accessible, it is also where most players spend their time learning the mechanics of the game.
Tip
Don't stay in the open: The main corridor of Floor 1 is wide and leaves you vulnerable. Whenever possible, move between rooms and use the shelves or tables for cover. If you hear footsteps, prioritize breaking the monster's line of sight over running in a straight line.
Check the shadows: Many monsters in the lab rely on dim lighting. Keep your flashlight handy when entering the Freezer.
Use the environment: Tables in the cafeteria and shelves in the main area provide temporary safety. Test the "collision" of these objects to ensure they offer full protection.
Manage your noise: Some monsters, like Gus, react to sound. Avoid unnecessary movement when you are close to his patrol zone.
The Backrooms and Beyond
The Backrooms section of Floor 1 serves as a haunting, limited-space labyrinth. It is significantly more dangerous than the open corridors of the main facility. Community members have pointed out that this area is devoid of valuables, making it a high-risk, low-reward zone that should generally be avoided unless you are specifically exploring or escaping a monster.
If you are looking to progress to Floor 2, you must locate the elevator or the specific staircases mentioned in the facility map. These paths are often guarded or located near high-activity monster spawns. Always ensure you have a clear exit strategy before heading deeper into the facility, as the difficulty ramps up significantly once you leave the safety of the ground floor.
FAQ
Is the Lobby the only safe place on Floor 1?
Yes, the Lobby is explicitly designed as a safe zone with a barrier that prevents monsters from entering. Every other area, including the Cafeteria and Freezer, carries some degree of risk.
Where can I find the most valuables on Floor 1?
The Freezer is the best location for high-value items, specifically meat valuables. However, it is also a moderately dangerous area due to the presence of the Lurker.
Can I hide under tables to survive?
Yes, in areas like the Cafeteria and the room between the Freezer and the Cafeteria, you can hide under tables to evade detection. Be aware that some monsters may be able to bypass this cover.